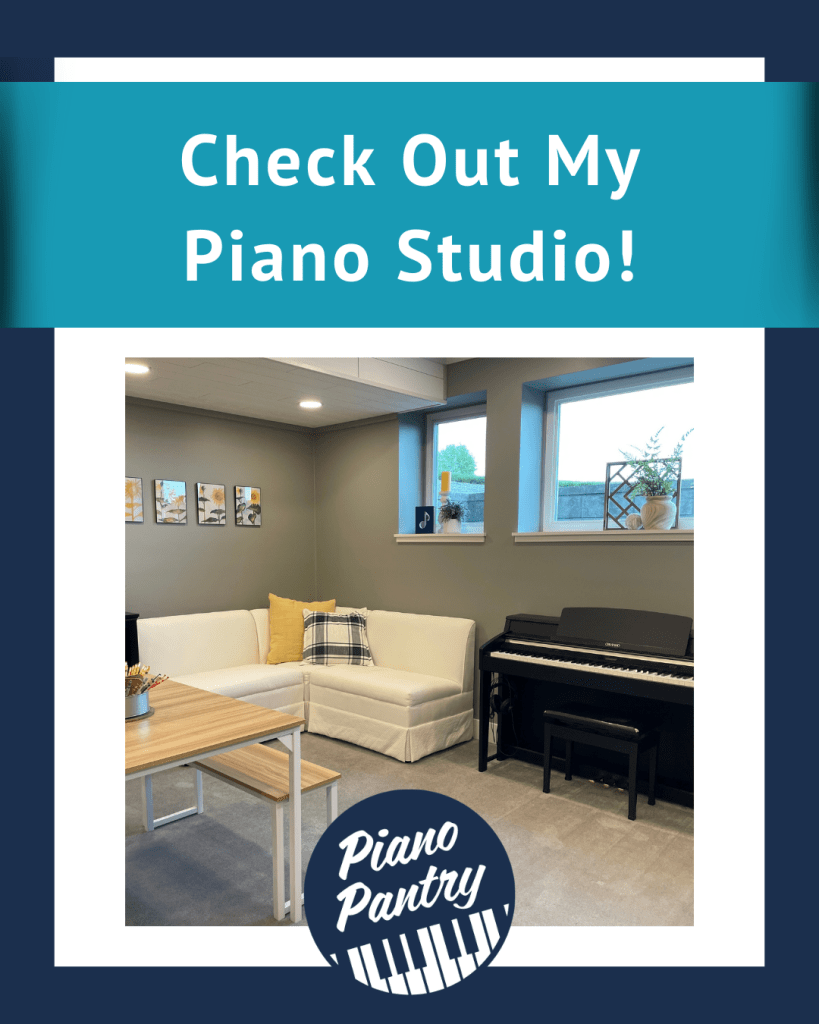
Today is FINALLY the day you get to check out my piano studio – it’s tour time!
If you follow me on social media at all, you might have seen a few “in-progress” photos as we worked to finish the new studio space. It’s been six months since it’s been complete, and I’ve been dying to show you the end product!
Feel free to “snoop around” my piano studio at your leisure.
This is a phrase I state to any teacher who attends the Piano Pantry Digital Organization Retreat at my home in the summer months.
Why?
You know why! You LOVE seeing other teacher’s spaces!
In fact, I knew you loved it so much that I made sure it was the FIRST blog post I published in 2016. ➡️ Welcome to My Studio! (It wasn’t much of a “tour” but just a photo of my then-teaching space.)
The Quick Back Story
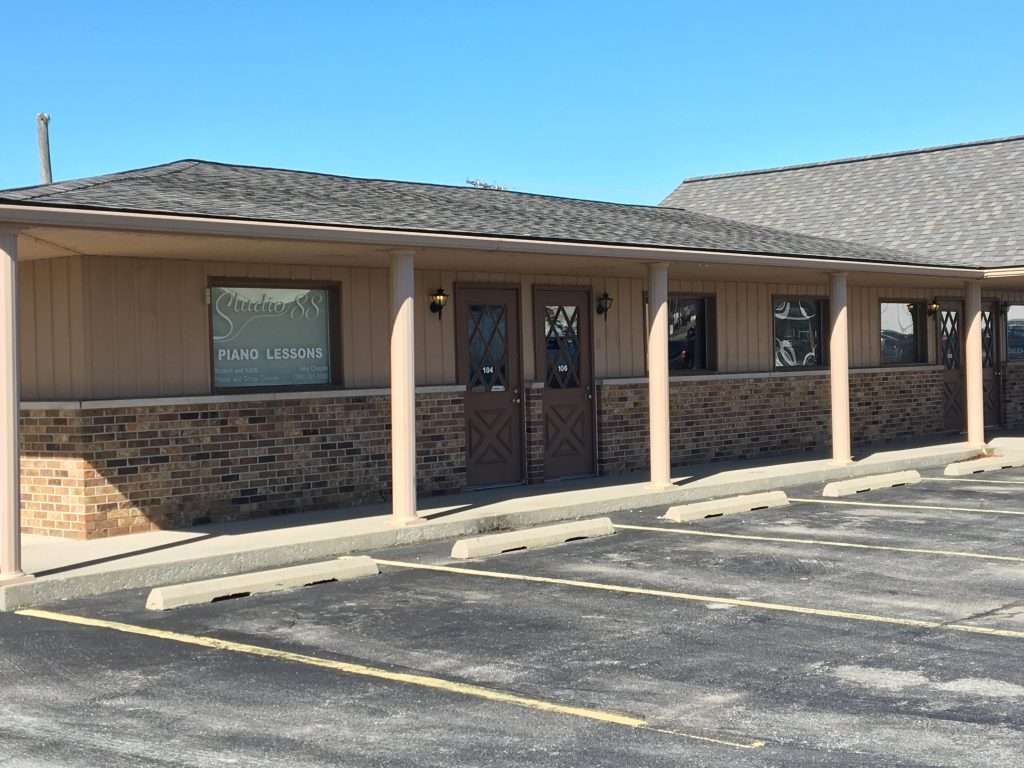
I first opened my studio in 2011 in a commercial space in town. At that time, we lived in a small rental house in the country where a home studio wasn’t conducive. I also wanted to take advantage of a more visible location to try and grow my studio quickly (which I did – 45 students in a little over two years).
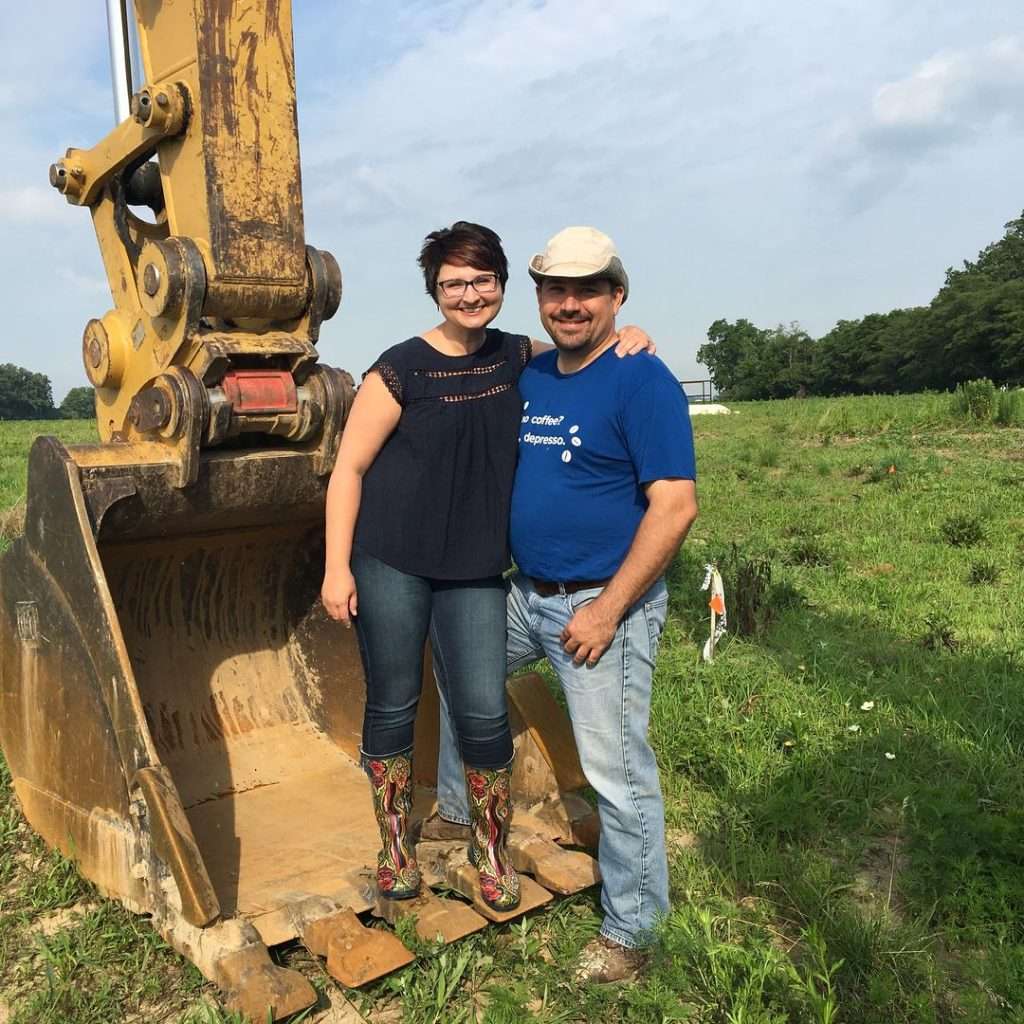
In 2013, we decided to build a home with the intention of transitioning my business into a home studio. Finding property in our county proved incredibly hard, so we didn’t break ground until July 2017.
For various reasons, which I won’t bore you with here, we didn’t move in until a year and a half later (December 2018). Even then, we were living in an unfinished basement of an unfinished house with no kitchen.
[If you’re interested in seeing my then makeshift and now finished kitchen, read the post A Tour of Amy’s Kitchen and Pantry.]
In August 2019, we moved the studio into the house, albeit into a semi-finished state. There was carpet and painted walls, but it was all very monotone. The ceiling was intentionally left open to save money and to make sure all the house’s innards were working right.
I struggled to find many good photos of the studio space during this five-and-a-half-year period as I tried to avoid showing the open ceiling in photos as much as possible. Here’s what I could find:
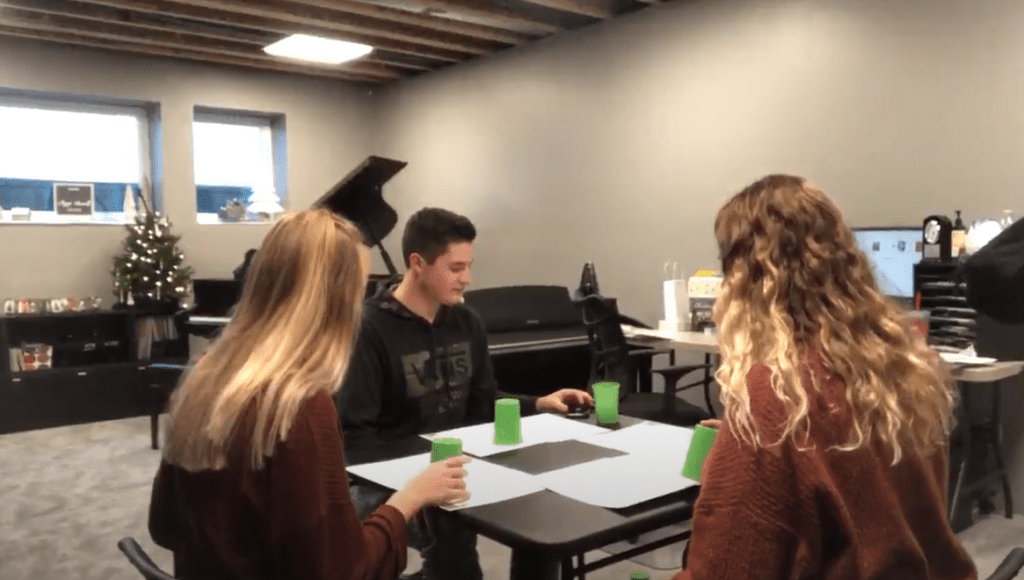
I had minimal furniture and didn’t decorate much both to be frugal and because I knew there would be a day when we would intentionally focus on finishing the space properly.
While I was thankful for the space, it was a struggle for me to leave it in such a boring state!
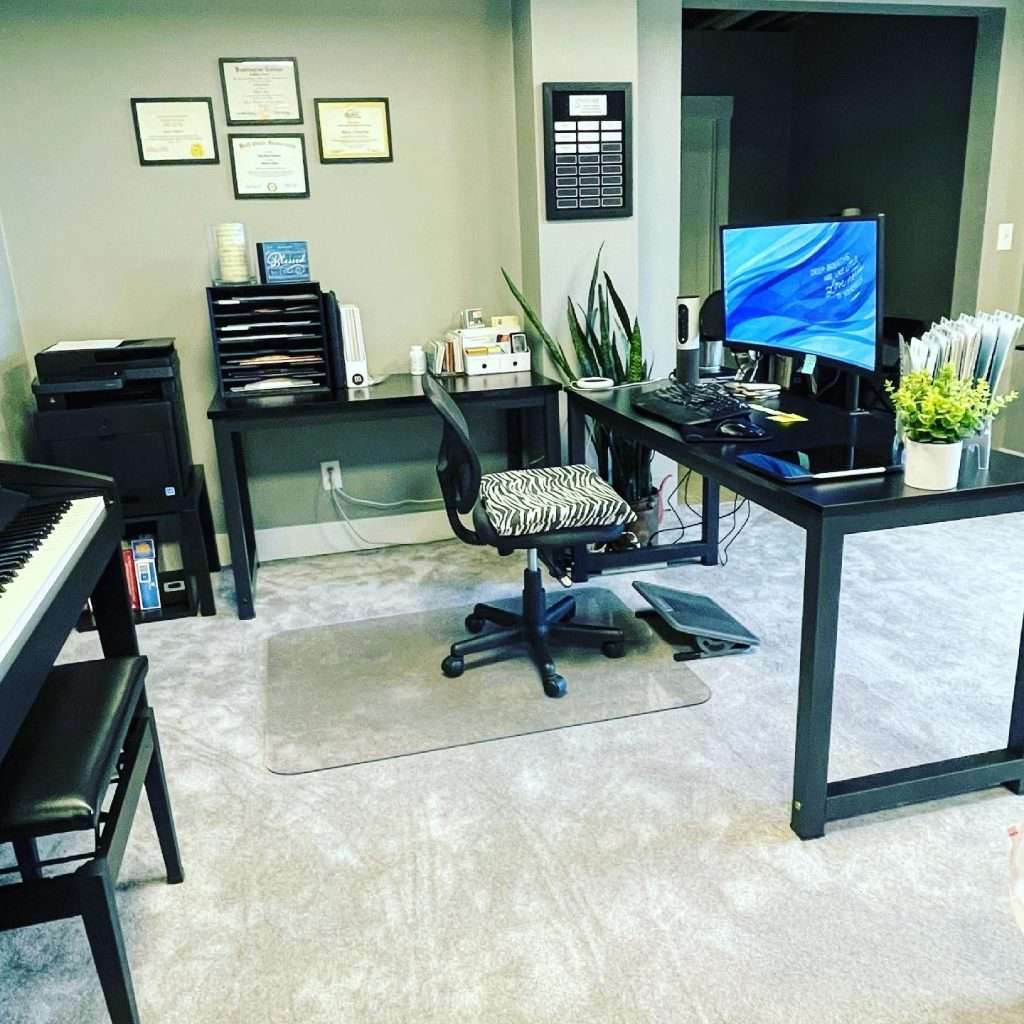
I was at least happy with my desk/work area. A little greenery always helps.
Getting Started
Fast forward to December 2023. It was finally time!
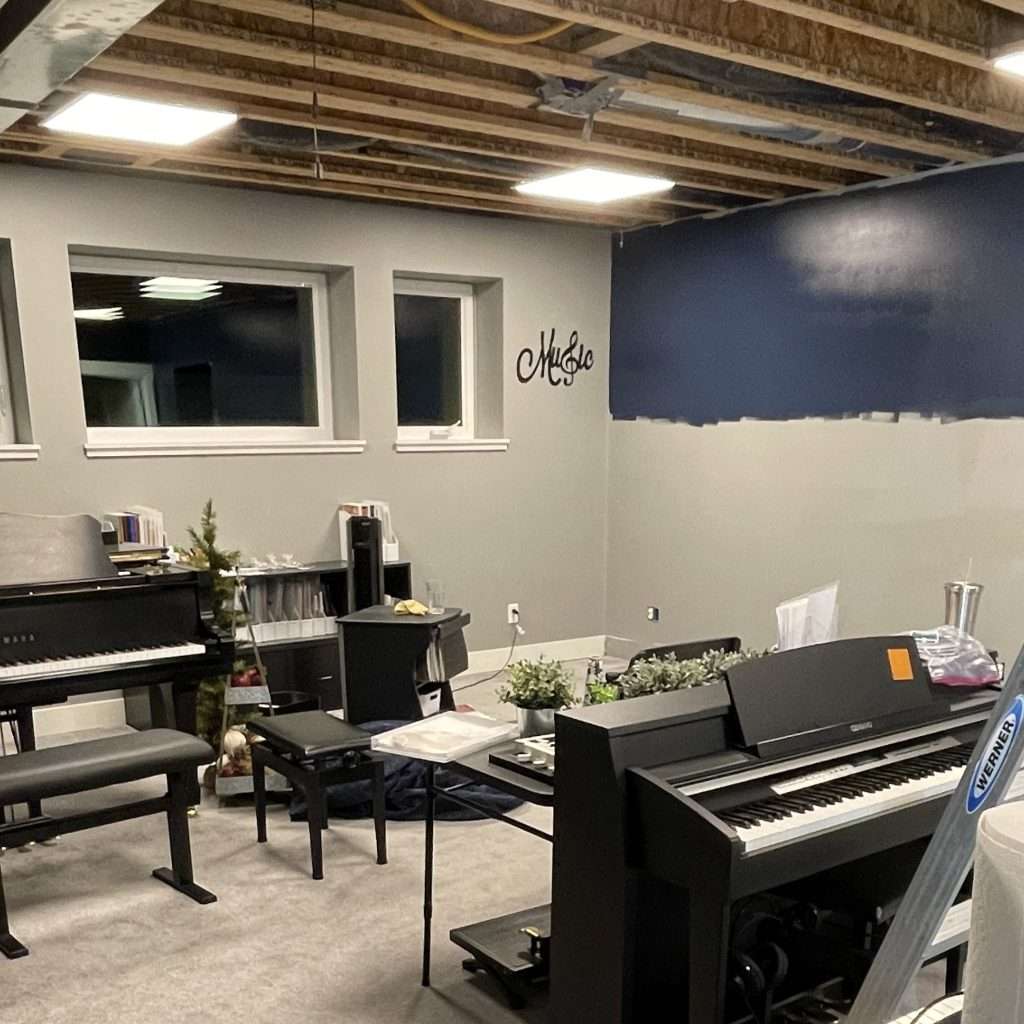
I taught lessons for a week with the studio like this so we could get a head start on the work. All in all, it took a month to complete. We were also finishing two other rooms in the basement – an extra bedroom with a closet and an exercise room.
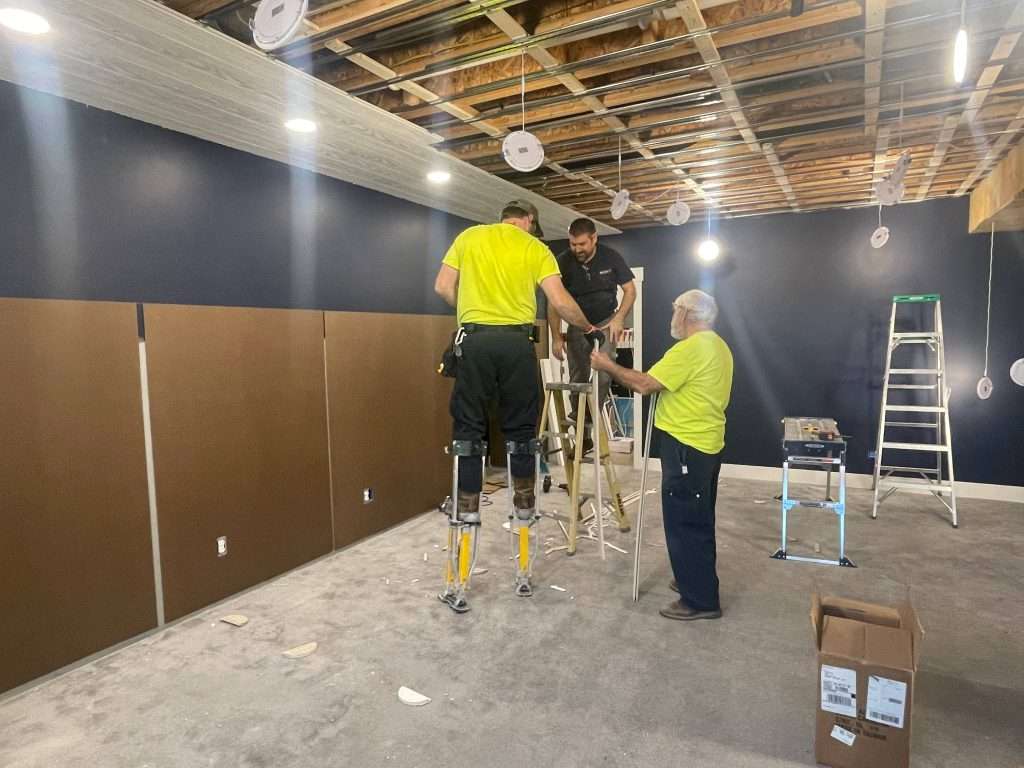
My father-in-law is a contractor, so he and my brother-in-law (yellow shirts) did the bulk of the work.
The ceiling is plank tongue and groove so it has the look of wood but is made of the same material as drop ceiling tiles.
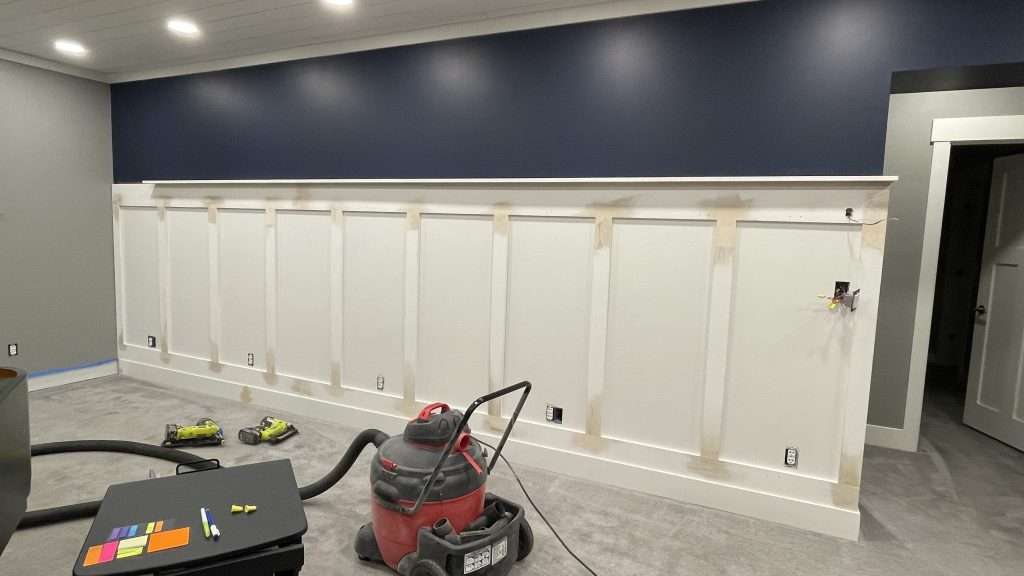
We painted, and Drew designed and built the wainscoting with a 4-inch shelf. A lot of people ask, so if you’re interested, the blue color (which I absolutely LOVE) is “Naval” from Sherwin Williams.
Where was the grand piano was during all of this? Well protected under some large heavy moving blankets.
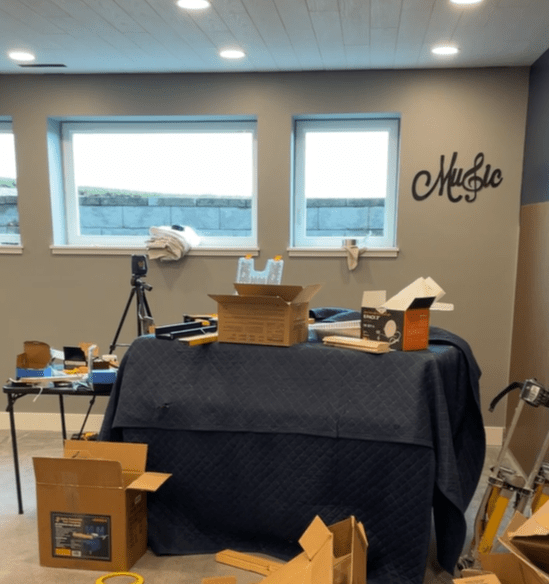
The Finished Space
Here’s a video walk through that’s a minute and a half long. I’ll show some still images after that as well.
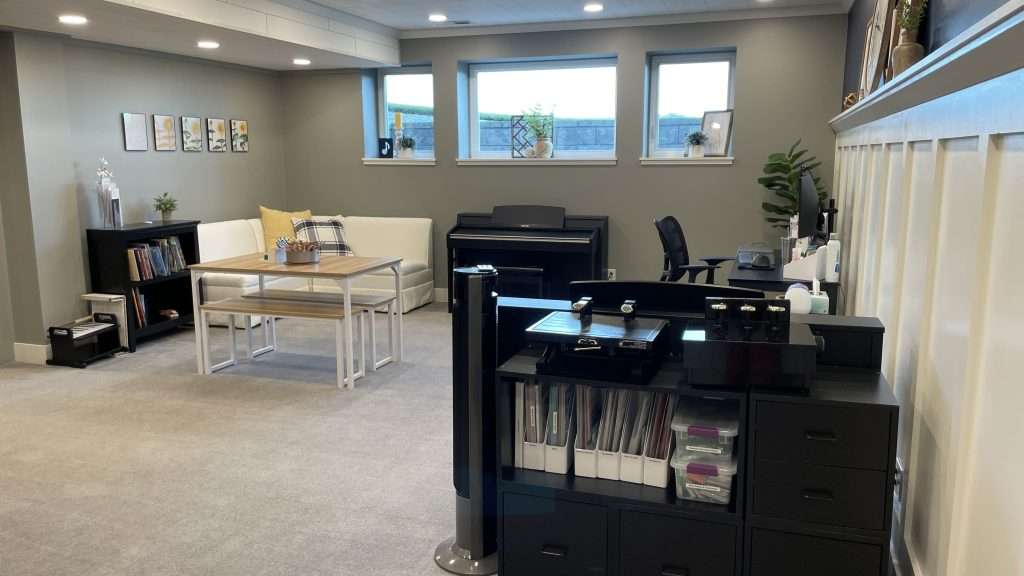
This is my teaching area.
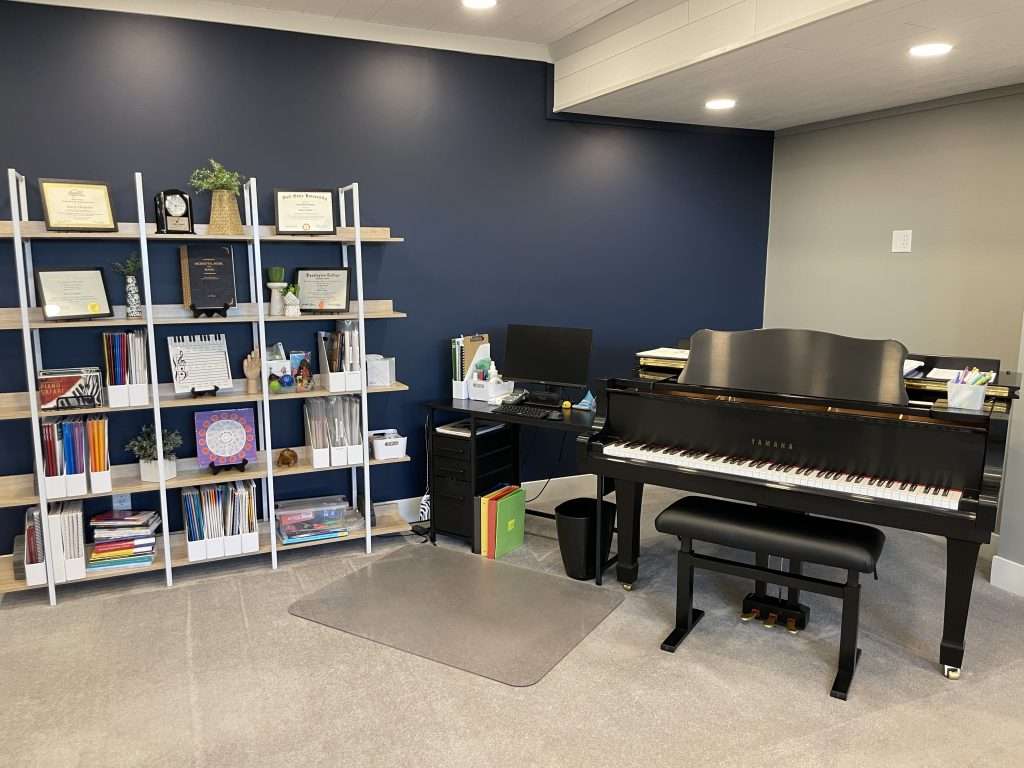
There’s a heavy duty roller chair mat both here and at my personal work area as I go back and forth between sitting and standing when teaching. For now, I just drag my roller chair from my desk over to the piano during teaching hours but I still need to get something there more permanently.
The piano bench is the Hidrau 30″ hydraulic vinyl piano bench. I’ve been very happy with it. It’s large enough for me and a younger student but a little tight for me and a teenager or adult.
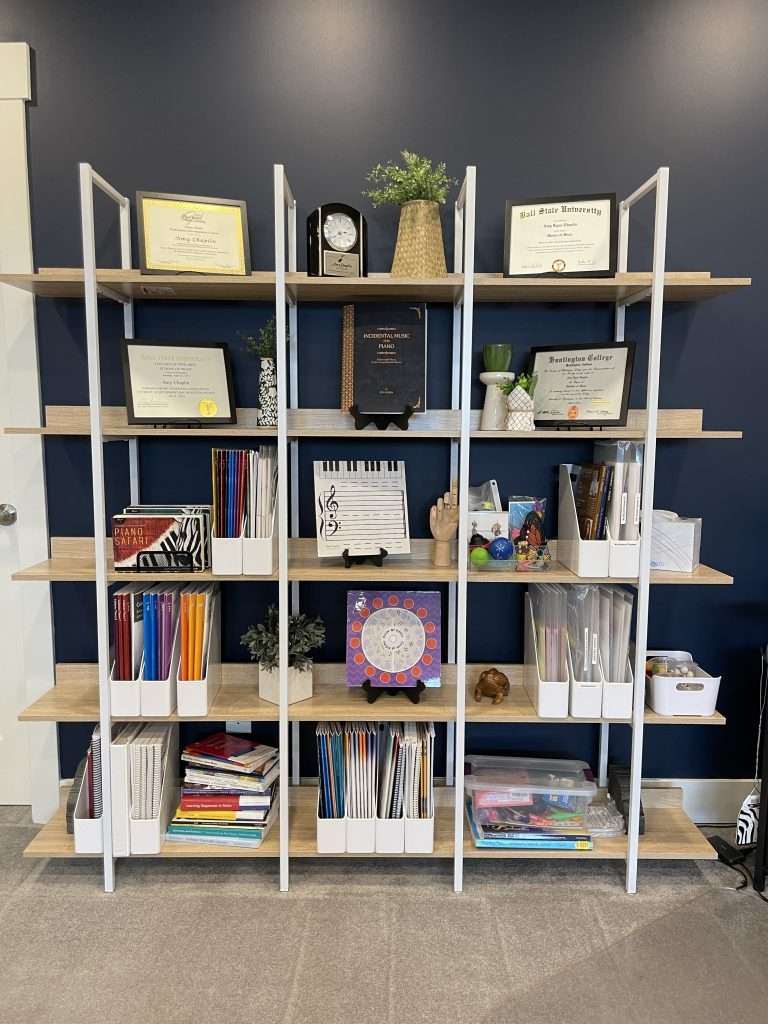
This new 5-tier bookshelf has been a game-changer. I’ve been dying to have an open storage space like this for awhile and really love it. The shelves are just deep enough to hold magazine files. It has a little shelf backstop so nothing pushes up against the wall. Find it here on Walmart.com.
I love how the white metal frame and light wood shelving really pop against the blue wall. I used to think all my studio furniture had to be black since the pianos were black but have since realized that was too much. Introducing the lighter wood and white frame of the bookshelf and the new table you see in this next photo create more balance in the space.
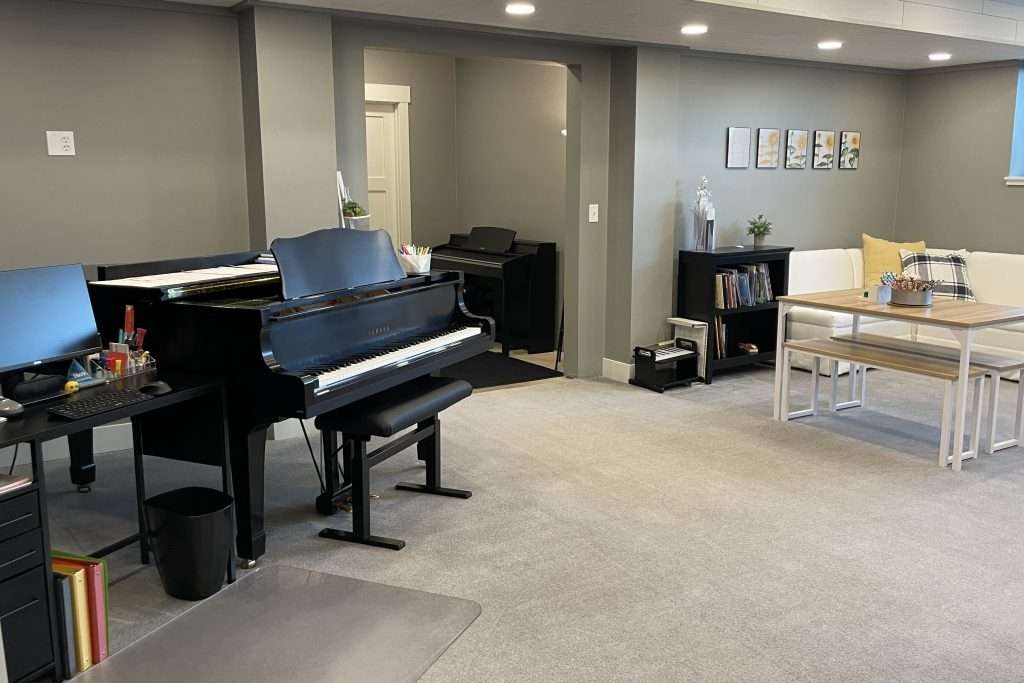
In the photo above, notice the digital piano in the basement entryway at the base of the stairwell. That is being sold off since I don’t do a lot of group teaching anymore. The flooring is still concrete with a commercial rug over it. Eventually that space will be finished with a built-in bookshelf and cabinet storage area but that’s stage two of the basement project. 🙂
Here’s my new “teaching table.”
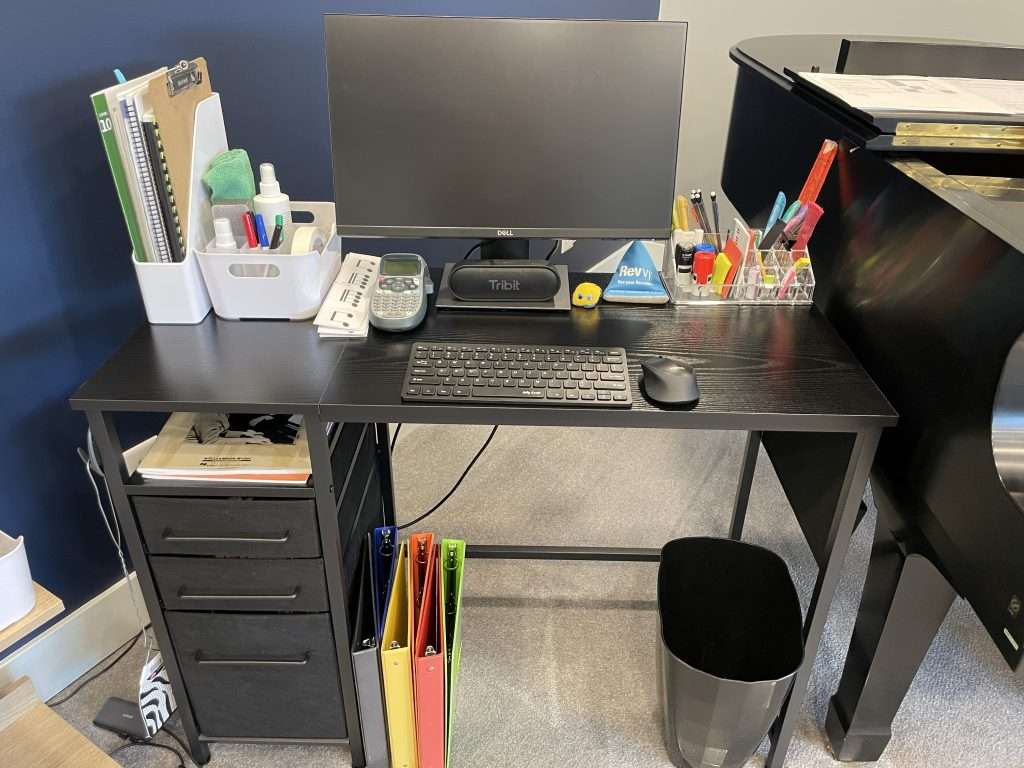
I can’t tell you how many hours I spent searching for the perfect solution here. I needed something that had more tabletop space than my old one plus drawers AND a little file drawer space. This table is reversible so you could opt to put the storage area on the right side. Find it here on Amazon.
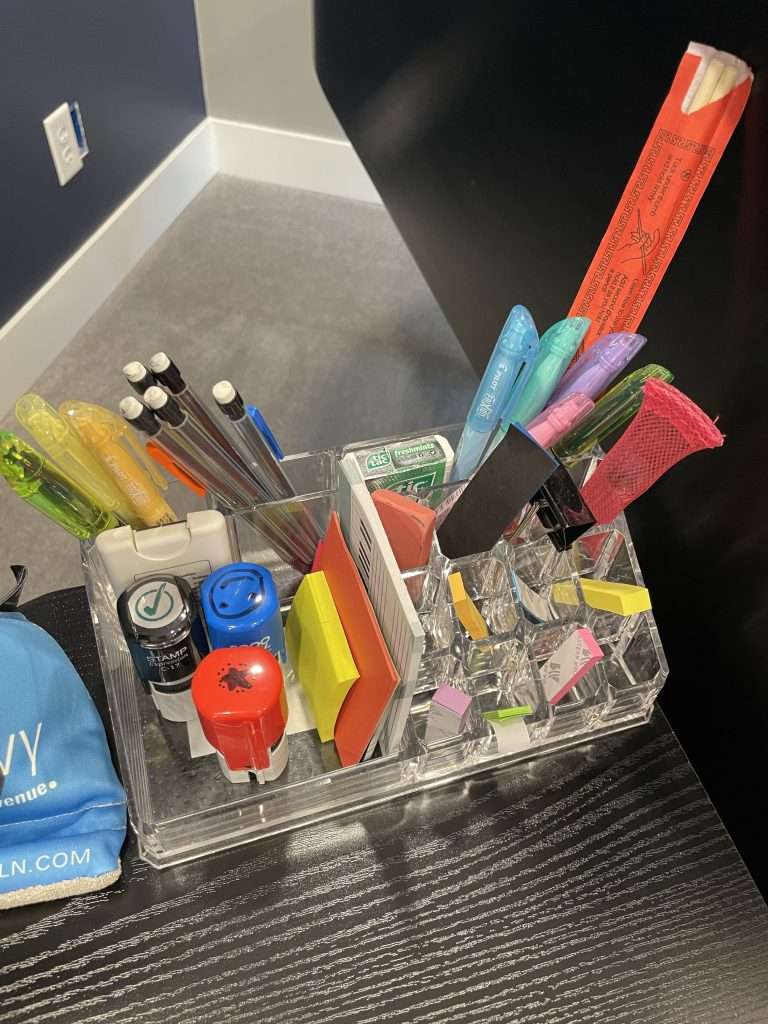
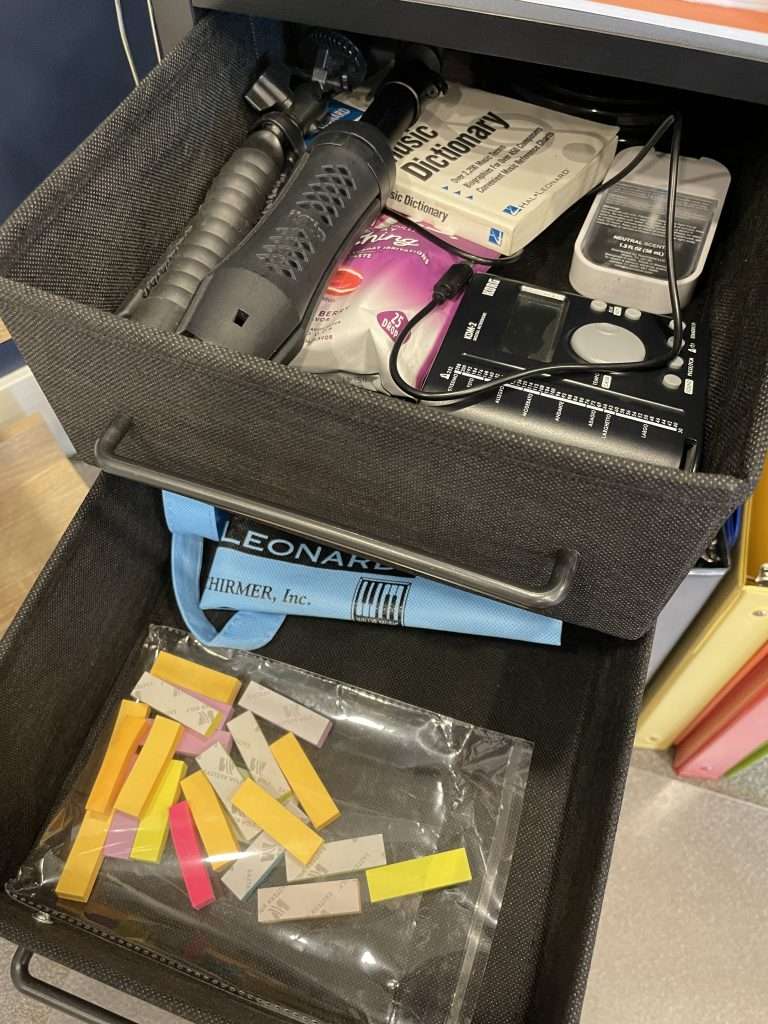
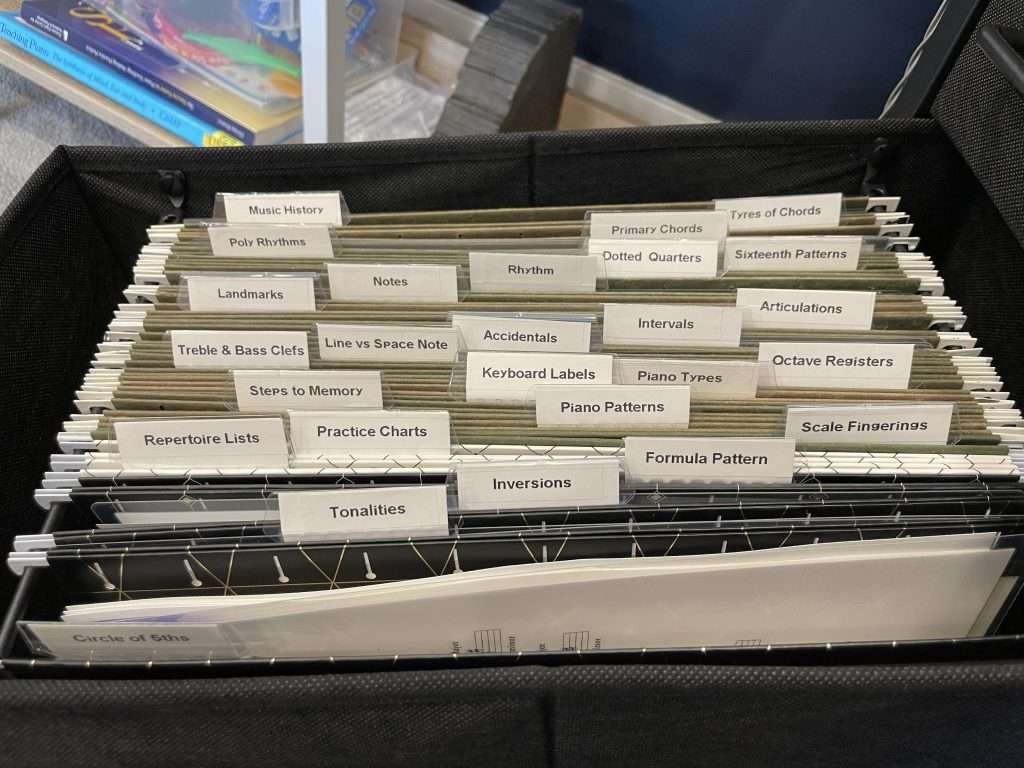
The cube storagea area you see in the bottom right of this next photo came from my old studio. I purchased it on Amazon in 2011. It’s no longer available.
I use one drawer for student files and the rest for games and general storage.
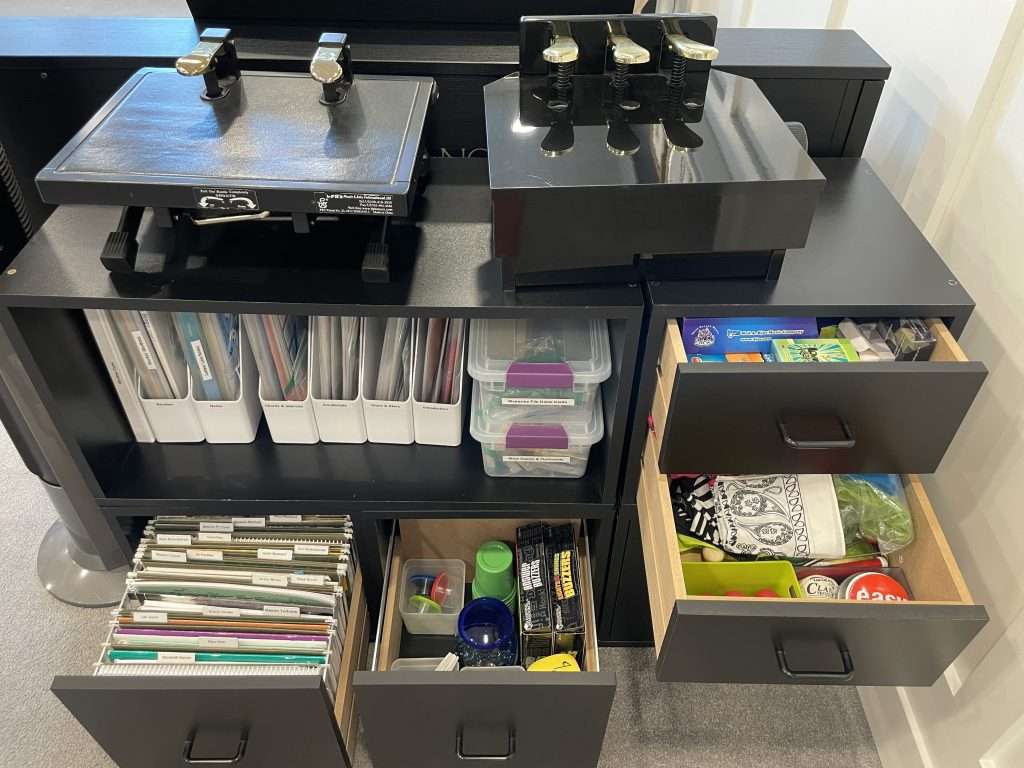
I like storing the pedal extenders higher so I don’t have to bend over to pick it up and place it under the piano. LOL.
The one on the left is the first one I ever purchased. It’s the DPH PE-2 Pedal extender ($248). It has a lever below the platform you pull out and twist to raise and lower.
The one on the right is the CPS Pedal Extender ($130 on sale). It uses hydraulic movement for raising and lowering while turning the knob on the side.
In my opinion, they’re very comparable products. I like having two, so when I have kids at different heights, I can keep one set higher and one set lower without having to adjust them constantly. I have a 2nd CPS Pedal Extender and other cheap wooden ones I loan to families.
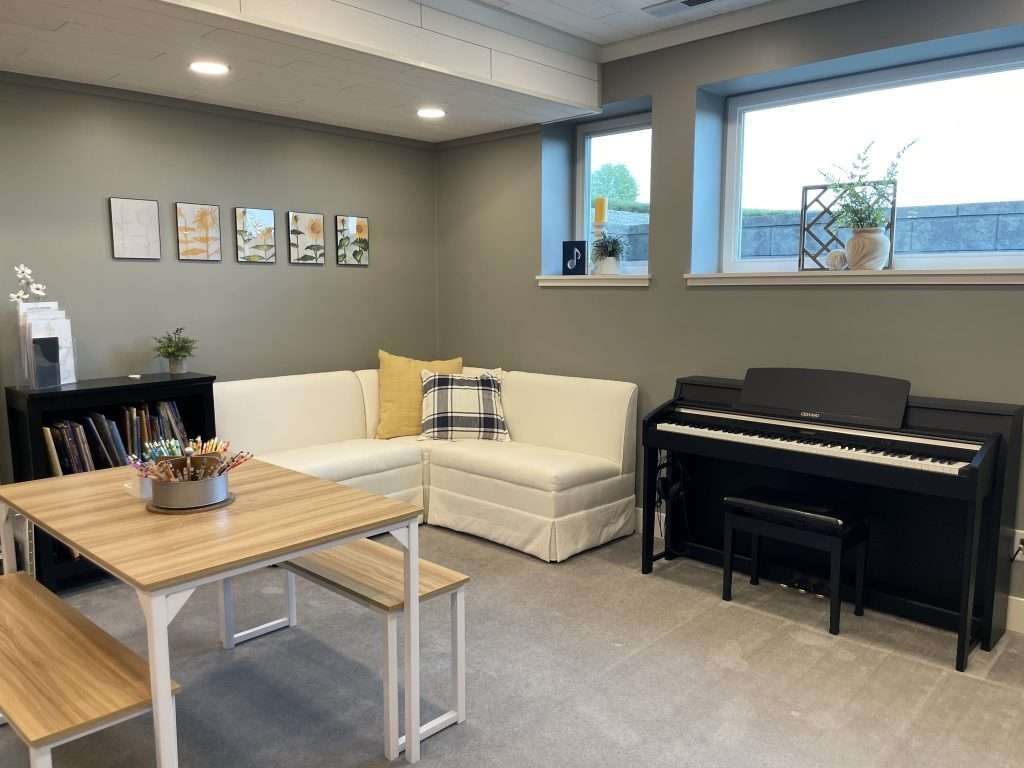
The other side of the studio is for anyone sitting in on lessons or siblings waiting their turn. The studio is in the basement so the windows look out the front of the property into an egress-like stoned in area.
The digital piano on this wall is the one designated for students to practice during siblings lessons. The digital keyboards can have noisy keys, so I try to keep it as far away from the teaching area as possible.
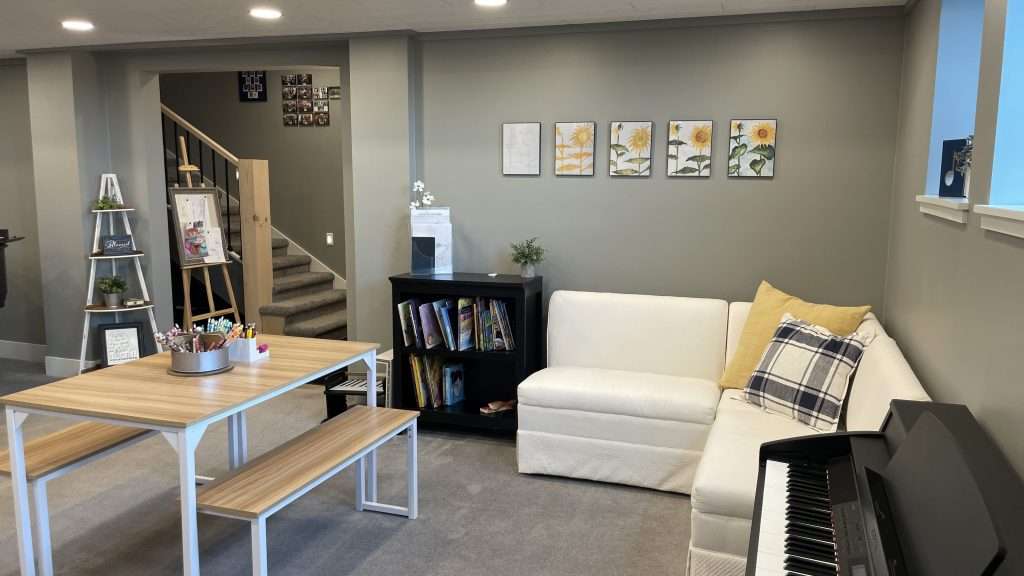
The little corner couch was a lucky find at a local garage sale! It’s intention is for an enclosed patio but it works perfectly in my studio. I was thrilled. The bookshelf houses music-themed childrens books students can check out at any time.
The sunflower photos on the wall are a free resource from Piano Safari. I framed them inside of cheap front-loading picture frames from Walmart.
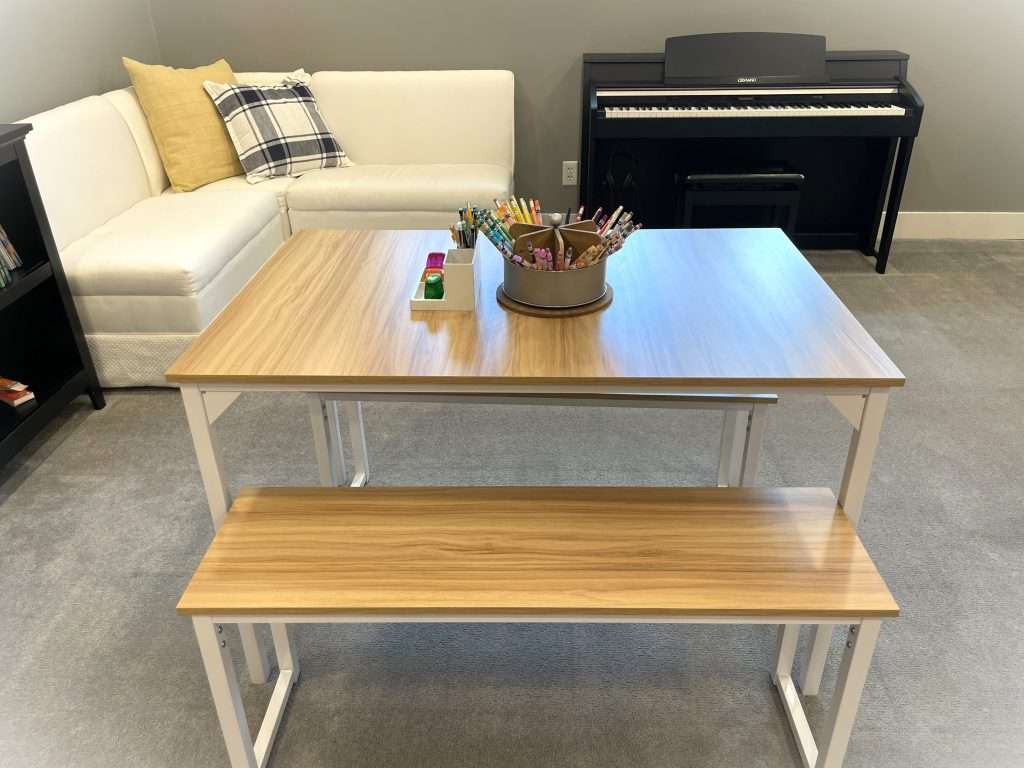
Like the 5-tier bookshelf and teaching table, the little table in the middle of the room took quite a lot of time to search out as I was picky about specifications. I didn’t want it to be too big but I wanted to be able to sit up to 6 kids around it if needed. That meant it had to have stick legs and no bars across the ends. I also didn’t want it to feel like a kitchen table. The benches lend a nice casual feel.
Kids sit there all the time to do theory work or draw during siblings lessons and we play games during group classes on it. It’s perfect! Get it on Amazon.
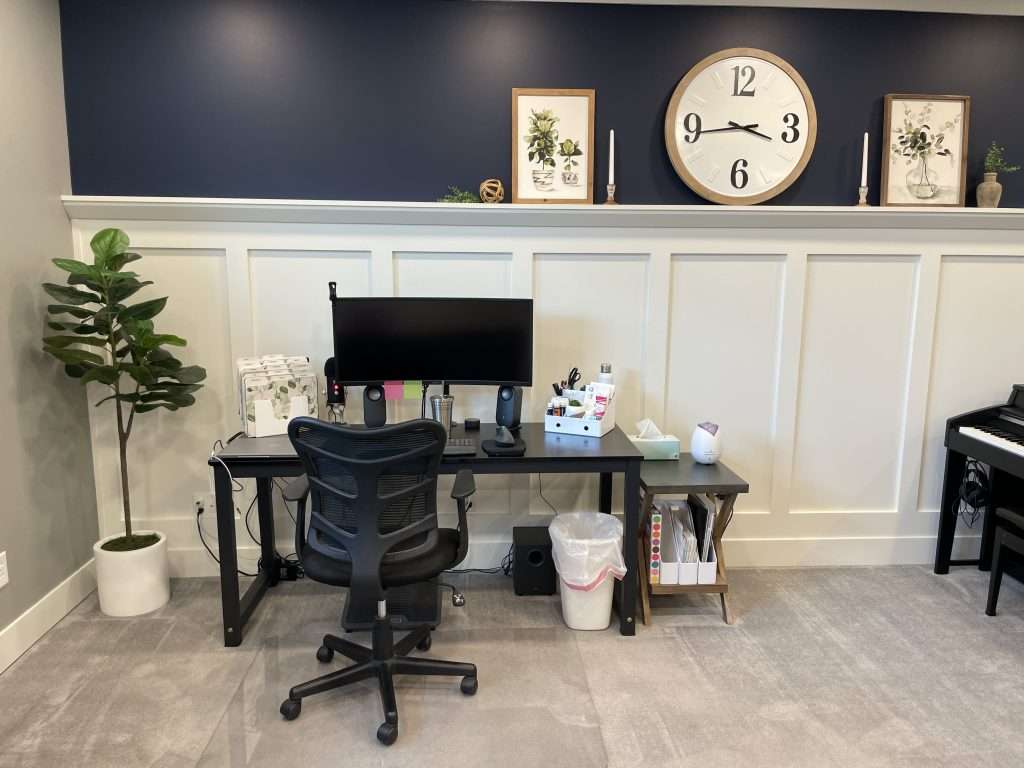
The last corner of the studio to share with you today is my work space. I absolutely love my large gaming monitor and simple setup. It’s not easy to keep clean, as you know!
The files are where I drop all my receipts for the year by month (more on that here).
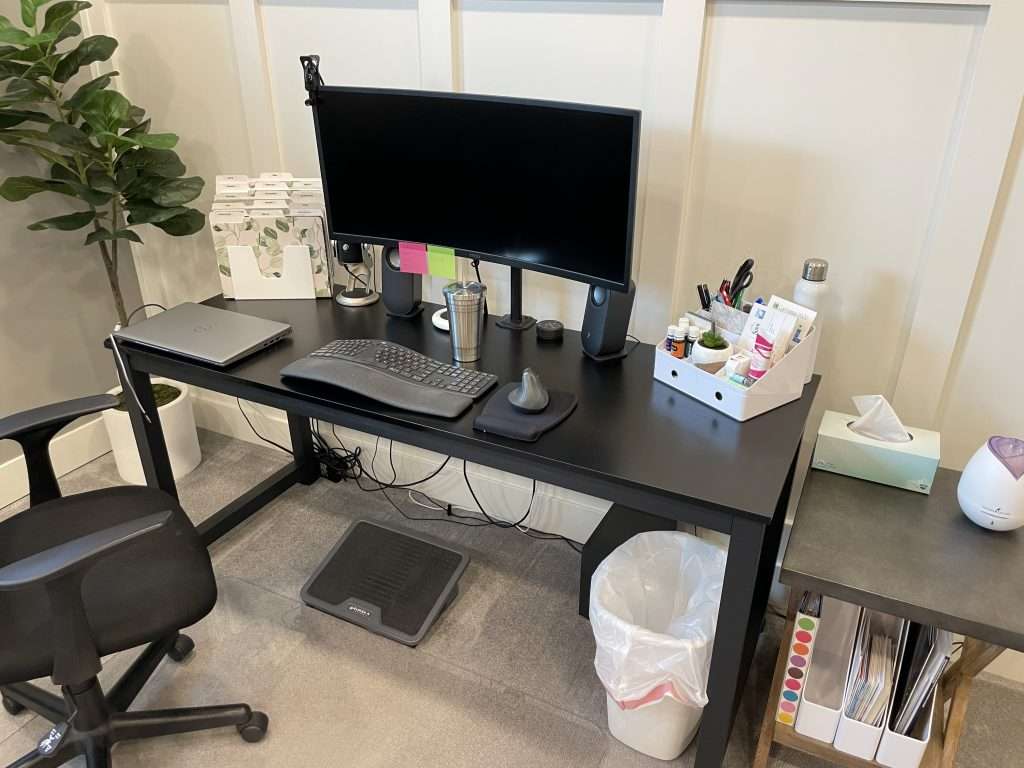
I love this desk. It’s more of a table, really. I keep a lot of stationary stuff in my back storage room (staplers, tape, etc.) – things I don’t use regularly.
It has a nice sturdy frame and is 63″. Find it on Amazon here. I also have a smaller 47″ size that you would have seen earlier in this blog post. It’s now in my storage room as a permanent place for my paper cutter and 3-hold punch.
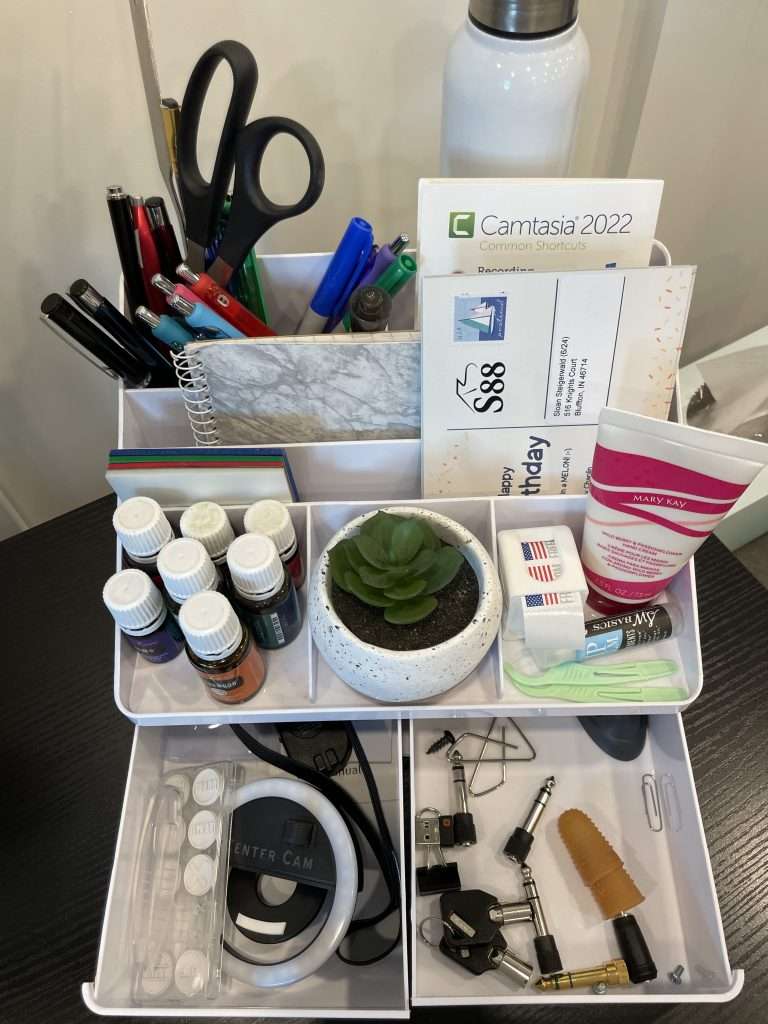
You can find a lot more details on some of the gadgets and storage solutions you have seen on this studio tour (like the computer keyboard, foot pedal, office organizers, and such) in these three “favorites” lists:
Amy’s Favorites – Studio Organization
Amy’s Favorites – Teaching Tools & Gadgets
Amy’s Favorites – Business Management
Stay Tuned!
As I mentioned, finding functional furniture for my studio was quite a time-consuming project! While I came across lots of great stuff that I think would work well in an independent music studio, some of it wasn’t going to fit my needs.
I DID think of you, though, and saved some of those ideas, which I’m going to publish soon. So, if you’ve been looking for some more furniture for your space – stay tuned!
Tour More Studios
Thanks for checking out my piano studio!
If you’re interested in having a look at the studios of other teachers, here are some more “studio tours” I’ve seen in recent years:
Take a Tour of My Piano Studio (Joy Morin | Color in My Piano)
Virtual Studio Tour (Leila Viss)


Gorgeous and inspiring, Amy!
It looks beautiful, Amy! Well done and enjoy!
Wow! That all looks so amazing, Amy. Sleek, clean, function, and still cozy and inviting. I love it!
Amy, This is amazing! Gorgeous and so functional! I love your space and all you have done!
Thanks for the tour of your beautiful space!