
Just in time for Easter, here’s a classic American appetizer and side dish with my own twist: Olive-Topped Deviled Eggs.
This year on the blog, I’m featuring recipes with special personal meaning, and deviled eggs were an easy choice. A classic we grew up with and a staple of Midwest American cooking, they still hold their place at just about every family holiday gathering.
I’ll admit I’m especially picky about them — they have to be pretty good for me to partake. Too dry, too mustardy, too lumpy, or (heaven forbid) made with relish, and I’m passing.
Mine are smooth and creamy, with the perfect balance of acidity, saltiness, and just a touch of sweetness.
Here’s What You’ll Need
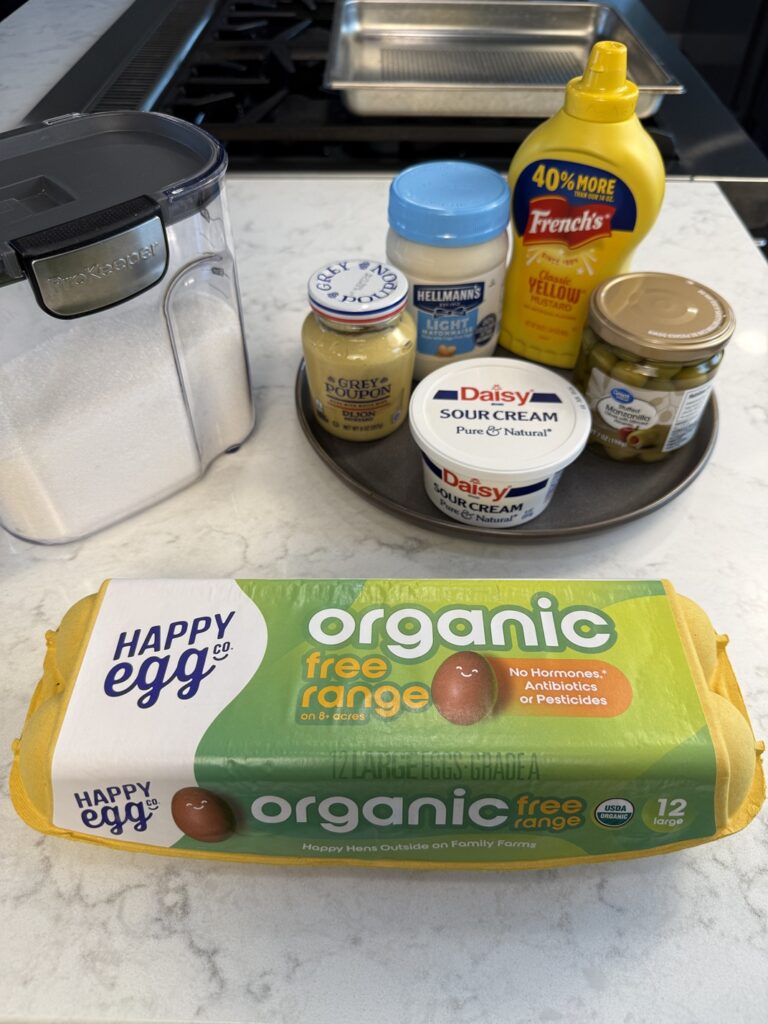
→ 1 dozen eggs
- While I start with a dozen, the finished product is good for 8-10. I just make extra because some don’t always peel well. That and the container I use, which is designed specifically for eggs, holds 10 eggs (20 halves).
- A good free-range egg, like Happy Egg, will result in a richer yellow yolk color, so go for the gold here!
→ Mayonnaise
- I like Hellmann’s.
- If you use Miracle Whip, skip the sugar.
→ Sour Cream
- Adds just a touch of richness.
- You can substitute for softened cream cheese or plain Greek Yogurt, but my favorite is Sour Cream.
→ Dijon AND Yellow Mustard
- Equal parts make a nice balance of mustard flavors.
→ Olive juice & whole olives
- Brine lends a little saltiness
- Whole olives on top (either whole or sliced in half) are both visually appealing and tasty. I often only top half of the eggs to leave some for those who don’t like olives.
→ Sugar (just a touch!)
- If you use Miracle Whip, skip the sugar.
- 1-2 tsp is good. I lean toward just 1 tsp, but 2 wouldn’t be too much.
→ Salt
- 1/4-1/2 tsp to your own taste. The olive brine adds saltiness as well.
Hard-Boil Your Eggs
There are two ways to do this.
- Steaming = slightly easier peeling
- Boiling = more common, still very reliable
I like to steam mine. They take 14-15 minutes.
If you prefer to boil, place them in cold water and bring the water to a boil. Once it’s at a rolling boil, turn off the heat, cover, and let sit for 10–12 minutes. (You may have heard to add a splash of vinegar to the water, but it doesn’t actually prevent eggs from cracking—it only helps the whites set more quickly if a crack does occur.)
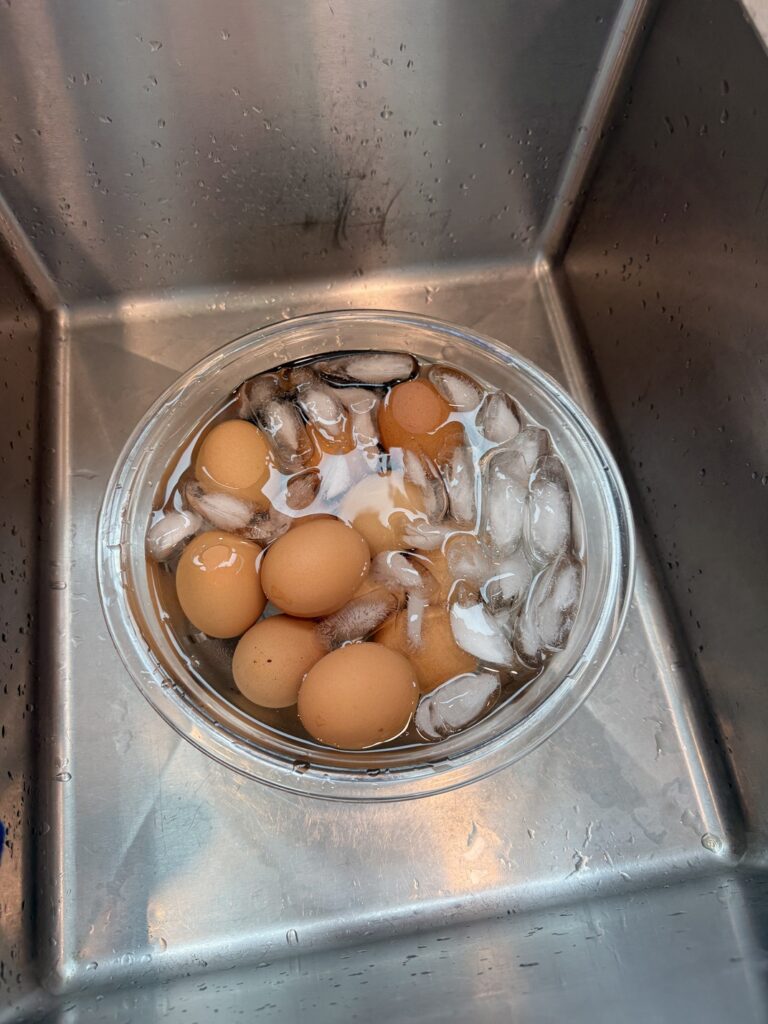
Whichever method you do, as soon as they finish, transfer them immediately to a cold ice bath and let sit for 5-10 minutes before peeling.
To peel, I like to crack the wider end of the egg first and gently slide a spoon between the egg white and the shell to get things started. I don’t rely on the spoon the whole time—sometimes it’s easier to switch to your fingers.
You can also crack the shell all over, but I’ve found every egg behaves a little differently, so it’s best to just feel it out as you go.
Rinse the peeled eggs well and place them on a paper towel to dry.
Make the Filling
Slice the eggs lengthwise through the center and gently pop the yolks out from the back. I like to keep a damp paper towel nearby to wipe the knife between cuts—it helps keep each slice clean so you don’t end up with yolk smudged on the outside of the next egg. (Totally optional.)
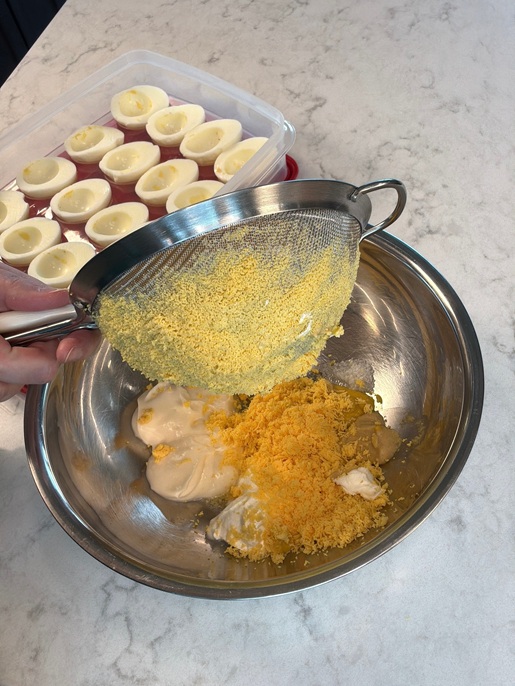
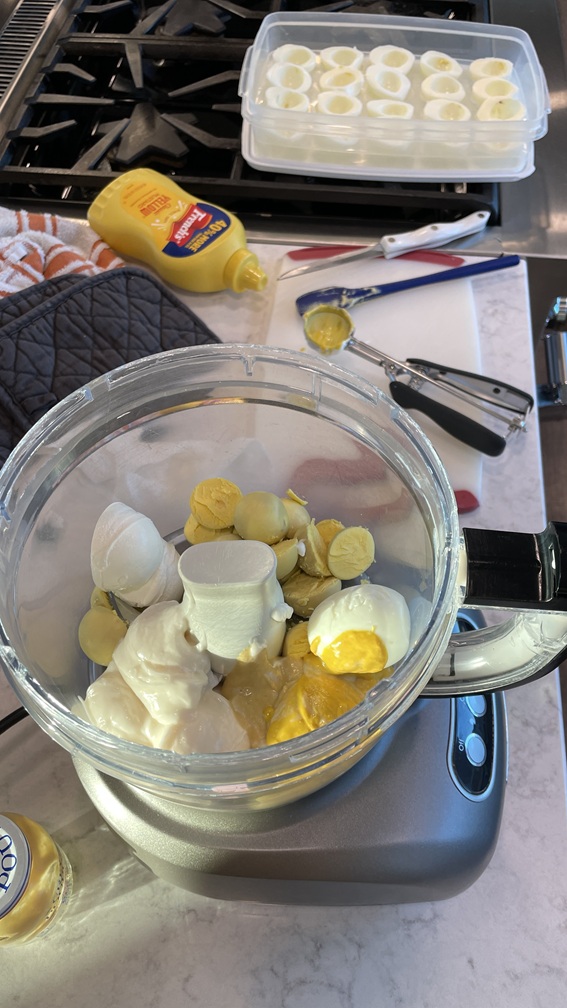
There are a few ways to make the filling, but the goal is the same: smooth, creamy, and completely free of lumps. One option is to press the yolks through a fine-mesh sieve, which creates a light, even texture and makes them easy to mix.
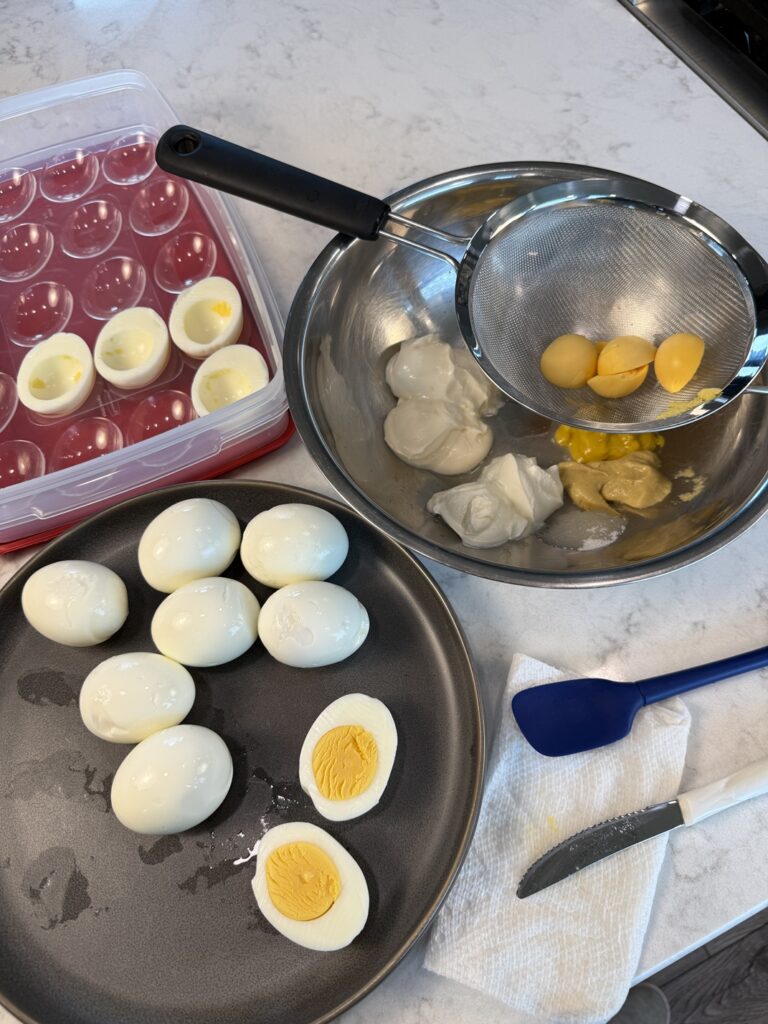
Full disclosure: It works beautifully but takes a lot of arm work to get all of that yolk pressed through.
I’ve also had success using a food processor or even a hand mixer.
Once mixed, taste it and see if you want to add a touch more of anything. Touch more olive brine, salt, or mustard? Everyone prefers a different level of these things, but it’s nice to have a solid place to start.
Assemble the Eggs
Now it’s time to assemble. Two things come in really handy here:
- A container designed to hold eggs.
- A small cookie scoop that measures 2 tsp. If you only do 8 eggs, you can use a 1 Tbsp measure, which is a regular medium-sized cookie scoop.
Because I almost always make these ahead of time even if serving here at my house and not traveling with them, a container with a lid is most practical.
Mine is the Rubbermaid Egg Keeper, which I got from my local Walmart. There are a gazillion on Amazon, though, so take your pick!

The cookie scoop makes a perfect dollop. Give the bowl a good scrape with a rubber spatula at the end, as you always get at least a good half scoop from the scrapings!
Make it Pretty
You can totally leave them as is—simple and classic—or add a few toppings.
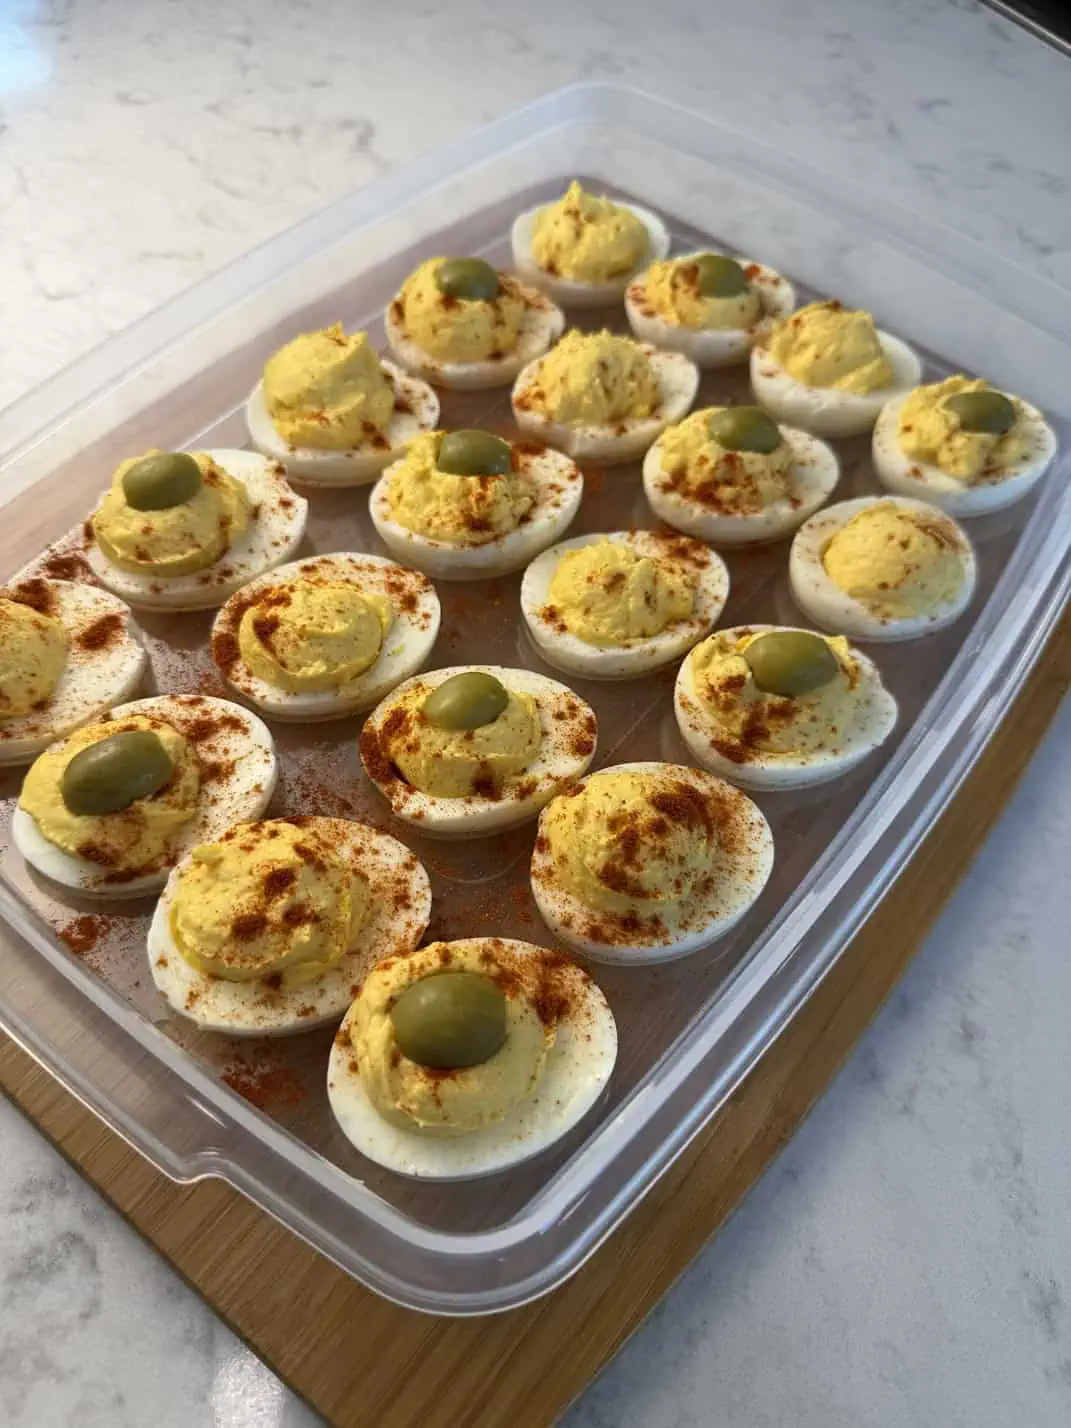
Paprika is the traditional choice. I don’t use it every time because I also love the clean look without it. The shaker tops on Paprika bottles never distribute evenly (as you see in this photo), so you could also try using a mesh strainer to sprinkle on top. The Paprika looks better in person than it does in the photo—ha! Add another twist and use Smoked Parika!
An olive on top (sliced or whole) adds a nice contrast to the creamy filling. I prefer regular pimento-stuffed olives (not queen-size) and usually add them to only half the eggs, since not everyone is an olive fan.
If you enjoy getting even fancier, here is some inspiration from one of my supper club friends.
How adorable is that?
She used black olive pieces for the eyes and little pepper pieces for the noses. Parsley and peppers add nice colorful contrast to the dish.

Our theme was “Lenten Fish Fry (healthy-style).” It featured Dill-Baked Salmon, Baked Sweet Potatoes, Apple-Kale Slaw, Deviled Eggs, and Lemon Tart.

Olive-Topped Deviled Eggs
Ingredients
Method
- If steaming, cook for 14-15 minutes.
- If boiling, place in cold water, bring to a rolling boil, cover with a lid, turn off the heat and let sit for 12 minutes (leave on hot burner).
- When eggs are done cooking, place them in an ice bath and let sit for 5-nut5-10 minutes to cool. Peel, rinse, and let sit on a paper towel to dry.
- While eggs are cooking, place the rest of the ingredients (except olives) into a medium bowl.
- Slice eggs in half lengthwise. Pop yolks into a fine-mesh strainer and with the back of a spoon, press to push them through (it takes a lot of arm work!). Scrape the yolk from the backside of the strainer into the bowl. (Alternatively, mix all filling ingredients in a food processor or whip with a hand mixer to ensure mixture is smooth and without lumps).
- Mix filling until smooth.
- With a small cookie scoop, scoop filling into yolks (approx. 2-3 tsp. per half).
- Top with olive, and a sprinkle of Paprika if using.
Deviled Egg Anyone?
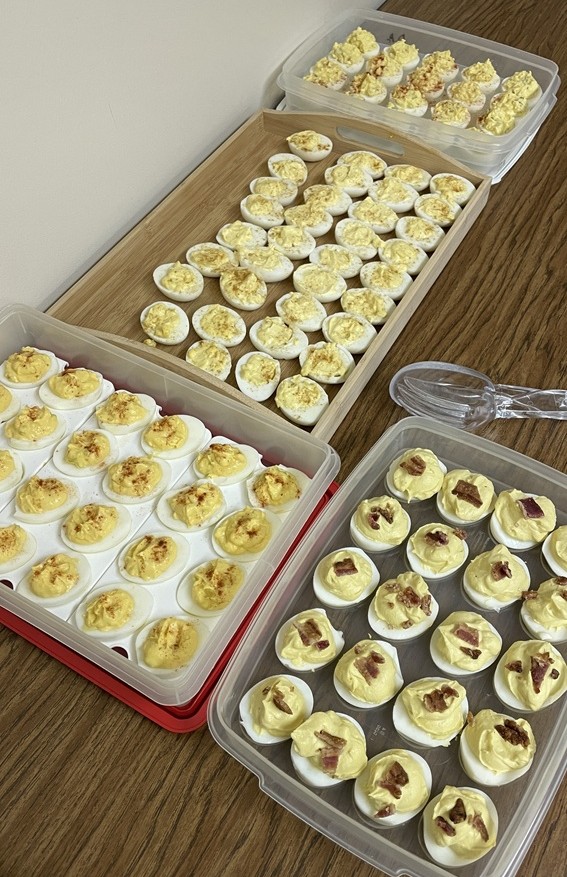
The best example of these little crowd-pleasers being a holiday staple came at Thanksgiving 2023, at one of my husband’s extended family gatherings. I usually try something new, but that year I went for the easy classic — and so did four other people.
A little turkey with your egg, anyone? 😄
What About Bacon?
You may be wondering… but what about bacon? I feel like when you see “fancy” deviled eggs at restaurants, bacon is often involved.
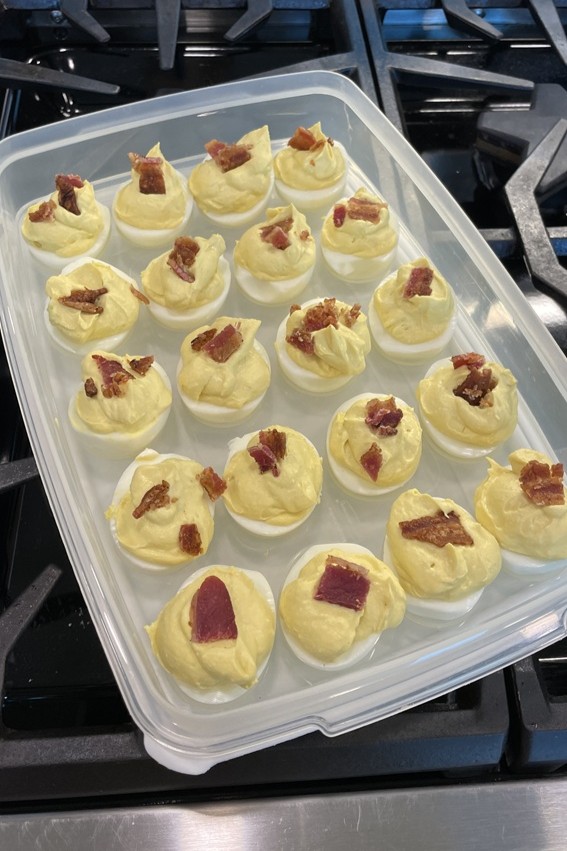
I’ve tried bacon a few times, and honestly, my verdict is to skip it.
Bacon only works well if the eggs are served immediately, and the bacon is nice and crispy and fresh. Rarely is that the case. If I’m making eggs, I make them ahead of time and put them in the fridge.
Once refrigerated, bacon goes soft and loses its appeal. For all the work it takes to cook up a couple of strips of bacon, I don’t think it adds much. I personally love the olive instead.
(I must have put a little extra mayo in this batch or something – they were overflowing with filling!)
What’s Does Your Perfect Deviled Egg Look Like?
I’m curious – do you have opinions on what a perfect deviled egg looks like?
Do you like relish in the filling – a totally classic ingredient?
LMK in the comments! 🙂
Do You Love Olives?
You might also love this Creamy Olive & Pecan Spread.


3 Responses
We love deviled eggs with green olives. I’m excited to try adding the olive brine!
Deviled eggs and egg salad both are big hits around here. However, we prefer chopped green onions on top to give it a crisp look and fresh taste. I haven’t ever put sour cream in the filling so will try that soon!
Oh yes, the scallion greens would give it a lovely spring color!